

|
|
|
|
|
|
|
|
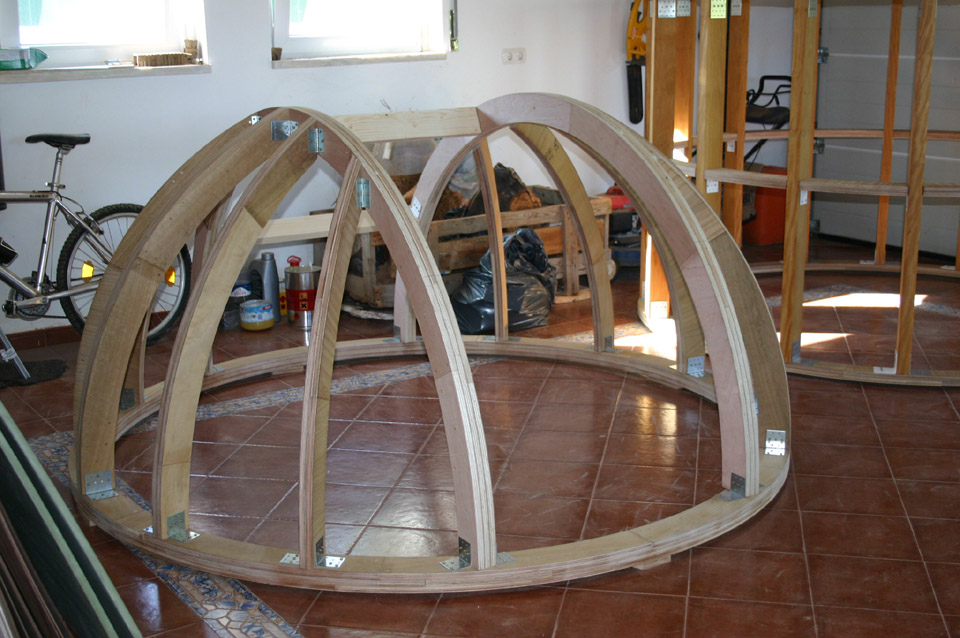
Dome Framework The dome bottom ring, which will be in contact with the 80 mm casters, is a triple lamination of plywood. This also applies for the two main arches and the two ribs perpendicular to these arches. All the other ribs are a double lamination of plywood. To join the ribs and arches to each other and to the bottom dome ring, right angle brackets were used where they meet at right angles. But, for the other angles, where the ribs meet the arches, door hinges were used. The hinges conform to the differing angles. Each rib and arch is attached to the dome bottom ring with two angle brackets. There is bracing at the back of the dome. These braces are made from pine timber. The spacing of the brace closest to the top of the dome is such that viewing of the zenith is possible. The amount of offset of the top brace was calculated for my 300 mm LX200 telescope coupled with a 114 mm guide scope. I also took in consideration the latitude of my location.
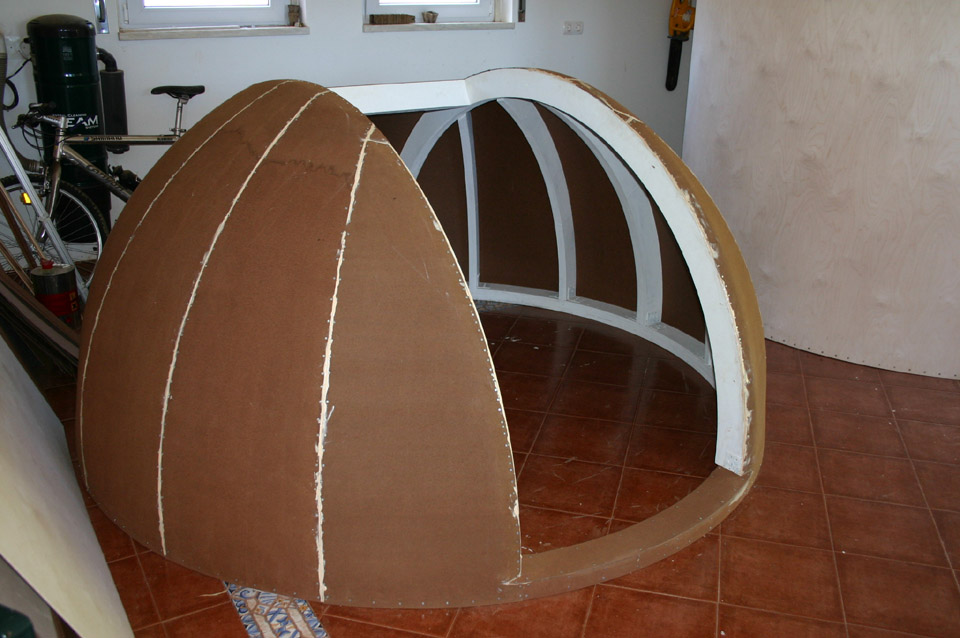
One coat of primer paint was applied prior to install the skin. Dome Skin I chose 3 mm tempered masonite for the dome gores.The gores were fastened to the ribs and base with ardox nails so that they do not pull out under stress from the masonite being formed over the dome radius.
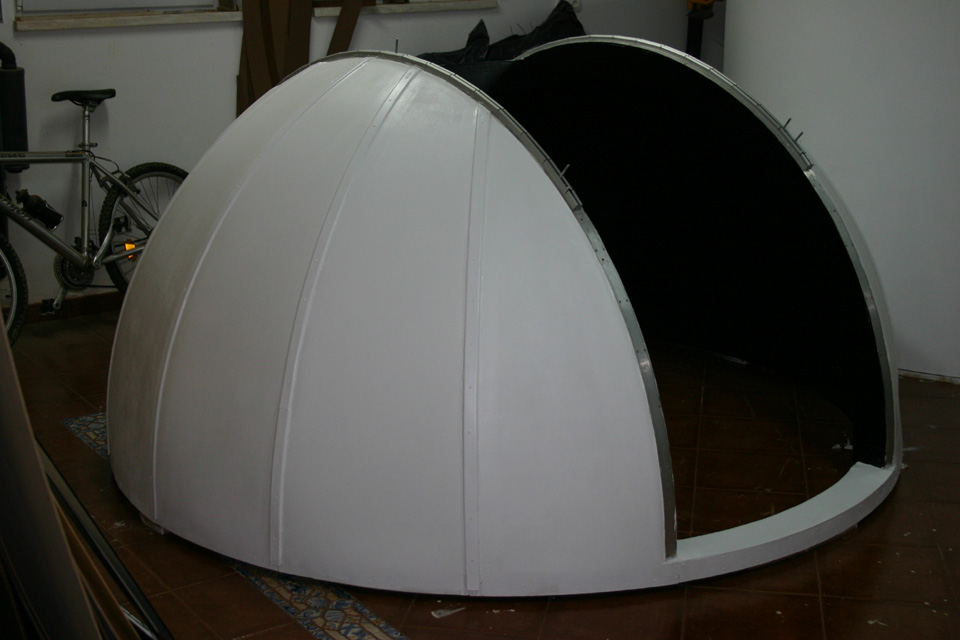
The gore seams were covered with pine trims. Caulking was used at every joint where the masonite gores butt-up to each other. The gores were also coated with two layers of primer paint before applying the final paint.
|
|
![]()
![]()
![]()
![]()
![]()
![]()
![]()
![]()
![]()
This site was last updated 2019-02-18 Site created and maintained by Jorge Lázaro